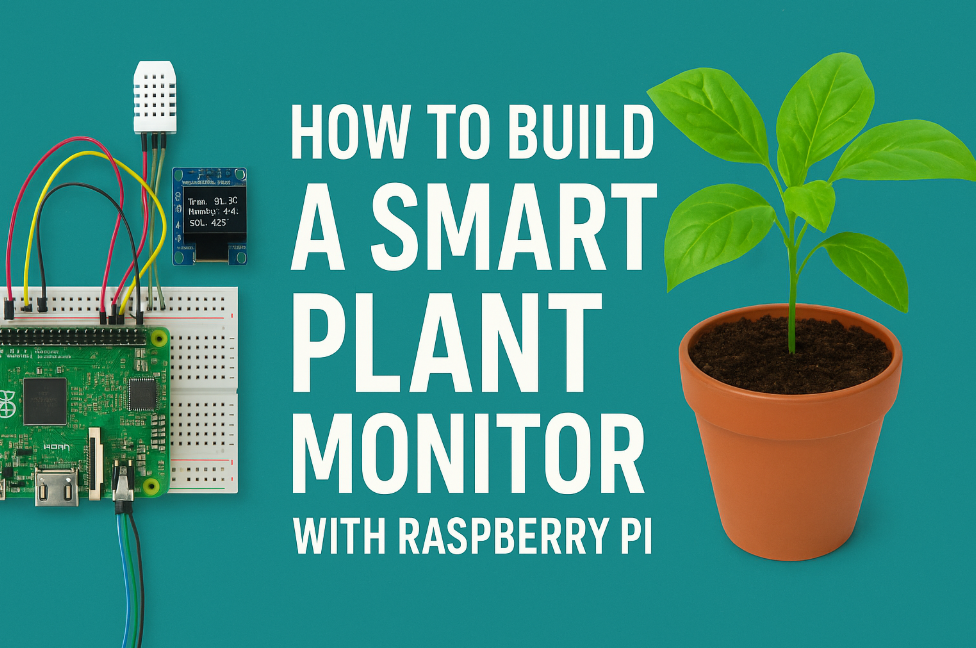
Tired of guessing when your plants need water?
With just a few basic components and a Raspberry Pi, you can build a smart plant monitor that tracks soil moisture, temperature, and light — and even sends you alerts when your plant is thirsty.
This beginner-friendly project combines IoT (Internet of Things) basics, simple wiring, and a bit of Python coding — no advanced electronics background required.
🧰 What You’ll Need
| Component | Description | Approx. Price |
|---|---|---|
| Raspberry Pi Zero W or 3B+ | The brain of your project | $15–$35 |
| DHT11 / DHT22 sensor | Measures temperature & humidity | $5 |
| Capacitive soil moisture sensor | Detects soil wetness | $7 |
| Light sensor (BH1750) | Measures sunlight | $5 |
| OLED display (0.96” I²C) | Displays real-time data | $8 |
| Jumper wires & breadboard | For easy connections | $10 |
| Power supply (5V/2A) | To power the Pi | $8 |
💡 Optional: Add Wi-Fi alerts via IFTTT, or connect your data to Home Assistant for full smart-home integration.
🖥 🖥 Step 1 — Set Up Your Raspberry Pi
<figure> <img src=”https://via.placeholder.com/800×400?text=Raspberry+Pi+Setup” alt=”Raspberry Pi setup example”> <figcaption>Set up your Raspberry Pi with Raspberry Pi OS and Wi-Fi connection.</figcaption> </figure>
- Download and flash Raspberry Pi OS using Raspberry Pi Imager.
- Enable SSH and Wi-Fi:
- Create a blank file named
sshin the/bootpartition. - Create a
wpa_supplicant.conffile with your Wi-Fi credentials.
- Create a blank file named
- Boot your Pi and connect via SSH:
ssh [email protected]
- Update your system:
sudo apt update && sudo apt upgrade -y🔌 Step 2 — Connect the Sensors
<figure> <img src=”https://via.placeholder.com/800×400?text=Wiring+Diagram” alt=”Wiring diagram of sensors”> <figcaption>Basic wiring for DHT sensor, soil sensor, and OLED display.</figcaption> </figure>
Wiring Overview:
- DHT22 → GPIO 4
- Soil sensor → ADS1115 analog input
- Light + OLED → I²C pins (SDA/SCL)
- All GNDs connected together
🧩 Tip: The Raspberry Pi has no analog input, so you’ll need the ADS1115 ADC module for analog sensors.
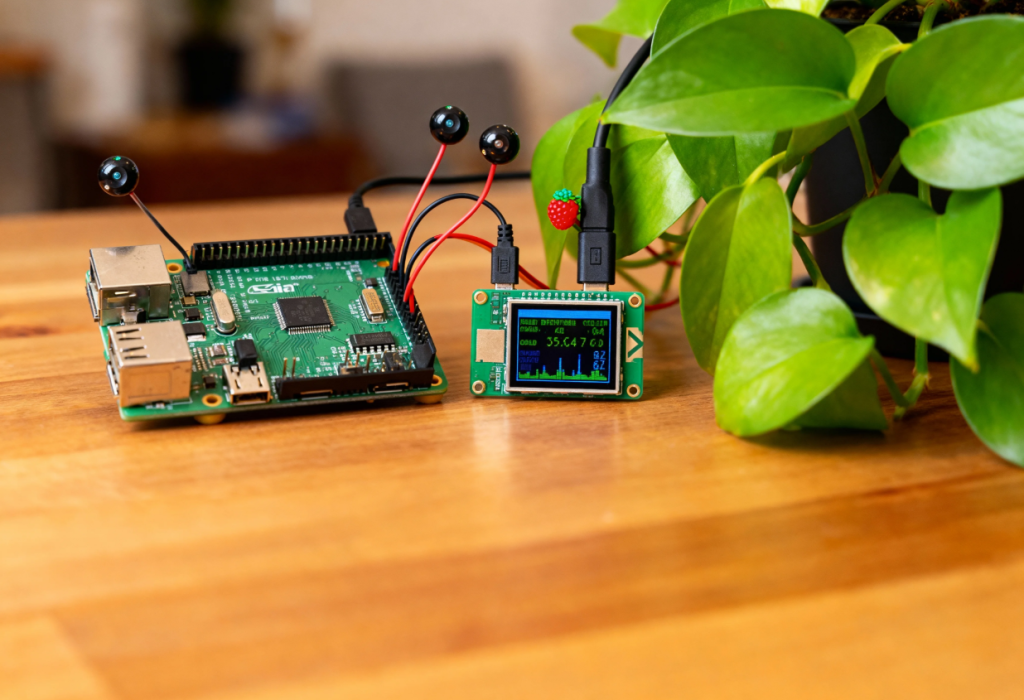
🧠 Step 3 — Write the Code
Install required Python libraries:
sudo apt install python3-pip
pip3 install adafruit-circuitpython-dht adafruit-circuitpython-ssd1306 adafruit-circuitpython-ads1x15
Create a new Python file:plant_monitor.py
import time, board, busio
import adafruit_dht, adafruit_ssd1306
from adafruit_ads1x15.analog_in import AnalogIn
from adafruit_ads1x15.ads1115 import ADS1115

i2c = busio.I2C(board.SCL, board.SDA)
dht = adafruit_dht.DHT22(board.D4)
ads = ADS1115(i2c)
chan = AnalogIn(ads, 0)
display = adafruit_ssd1306.SSD1306_I2C(128, 64, i2c)

while True:
    temp = dht.temperature
    humidity = dht.humidity
    soil = chan.value / 32767 * 100
    display.fill(0)
    display.text(f"Temp: {temp:.1f}C", 0, 0, 1)
    display.text(f"Soil: {soil:.1f}%", 0, 10, 1)
    display.text(f"Humidity: {humidity:.1f}%", 0, 20, 1)
    display.show()
    time.sleep(5)
Run your program:
python3 plant_monitor.pyYou should now see live temperature, humidity, and soil data displayed on your OLED screen. 🌱
☁️ Step 4 — Add Cloud Alerts (Optional)
Want to get a mobile alert when your plant is dry?
Use IFTTT Webhooks or Blynk to send notifications.
if soil < 30:
    requests.post(IFTTT_URL, json={"value1": soil})
💡 You can also push data to Google Sheets or your Home Assistant dashboard.
🔋 Step 5 — Go Wireless or Solar
<figure> <img src=”https://via.placeholder.com/800×400?text=Solar+Powered+Setup” alt=”Solar powered plant monitor”> <figcaption>Use a power bank or solar setup for outdoor operation.</figcaption> </figure>
Make your plant monitor fully autonomous:
- Power it using a solar panel + Li-ion battery
- Enclose it in a weatherproof case
- Use LoRa or Wi-Fi for connectivity
🌼 Step 6 — Customize and Expand
Here are some fun upgrades you can try:
- Add a relay-controlled water pump for auto watering
- Show emojis or icons on your OLED
- Use a BME280 sensor for more accurate readings
- Integrate with Home Assistant to display data on your smart screen
Congratulations — you just built your first IoT smart plant monitor!
You learned how to connect sensors, code a Python script, and visualize data on a display.
This is a perfect project to start exploring:
- IoT and home automation
- Raspberry Pi hardware programming
- Smart gardening technologies
Now your plants will never go thirsty again. 🌿
About the Author